
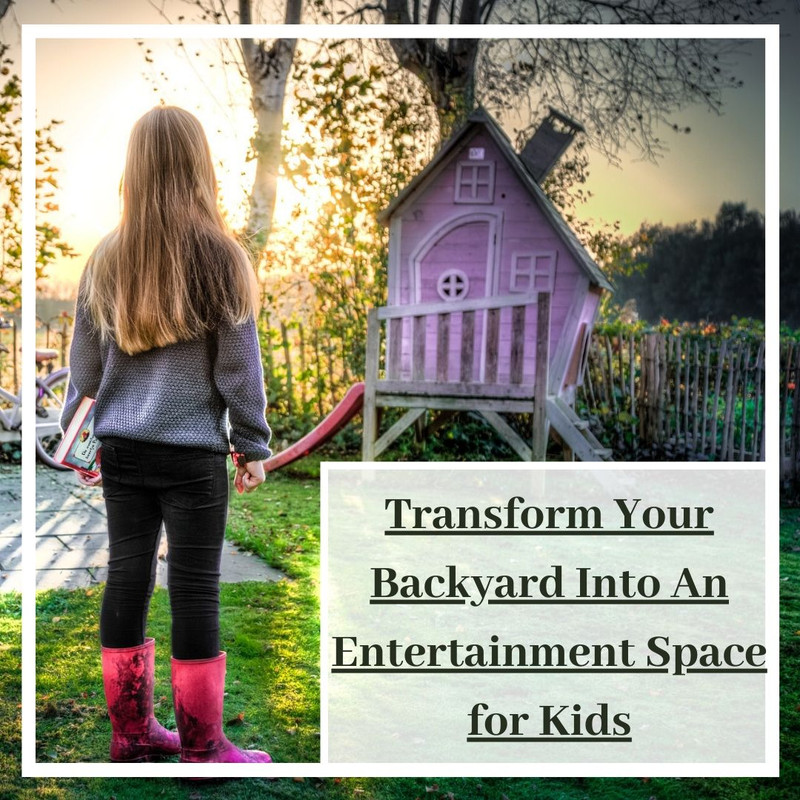
Transform Your Backyard Into An Entertainment Space for Kids
Jun 19th 2020
Those summer days are here and that means less time inside and more time in your backyard. Now more than ever many parents need an entertaining space for their kids to play and hang out. If you don’t want to break the bank and enjoy some easy DIY projects, there are tons of fun options. Who’s ready to transform their backyard into the ultimate play spot for their kids?
Showcase Your Imagination With an Outdoor Chalkboard
Kids have an endless imagination, and what better way to let them showcase their creativity than on a large outdoor chalkboard? Every kid loves to draw on the sidewalk with chalk. Now, make it easier by setting up their own space in the backyard. Adding this feature isn’t that difficult, and you can have your kids help you throughout the process. We know your kids (and you) will enjoy this chalkboard!
Supplies needed: 3’ x 5’ HardieBacker boards (available at most major home improvement stores), 2” screws, power drill
- On your fence, determine the best spot for the chalkboard. Once marked, use 2” or longer screws to fasten the HardieBacker boards in place. We recommend you use a level to make sure the chalkboard is level with your fence.
- Find a storage basket you can hang next to the chalkboard to hold the chalk, erasers, and other supplies. Use the 2” or longer screws to fasten it and make sure it’s level using a level.
Traditional Swing For Endless Fun
Nothing is better than seeing your kids smile and enjoy their time outdoors. For years, tree swings have provided kids of all ages the fun they want right in the backyard. Now’s the perfect time to add one to your outdoor space. The best part about these tree swings is that you can have them up in an afternoon!
Supplies needed: 2” x 8” oak or maple wood, braided polyester rope, ¼ stainless steel chains, power or hand saw, power drill, power sander, ladder, level
- Using a 2” x 8” piece of maple or oak wood, cut out your seat. We recommend a length of 20” or longer.
- You can tailor your seat to your liking by rounding out edges with your saw.
- Once you’re finished, sand the entire seat making until smooth
- Using your drill, make the holes for the rope. We recommend staying about 1” from the edge of the seat on either side. Use a level or straightedge to keep your holes lined up.
- Now you can add that paint or natural stain to your seat.
- Using a ladder, attach the chains to the branch of the tree. We advise that the chain be attached at least three feet away from the trunk of the tree and have them spaced out by two feet.
- Attach the rope to the chains using an 8 follow through knot. Once attached, determine the proper length of the rope for your swing and cut the rope.
- Feed the rope through the holes in the seat and tie an 8 follow through knot to secure the swing.
Bring The Beach Into Your Backyard With A Sandbox
If you want to give your kids a place where they can play for hours using their creativity or digging for treasure, a sandbox is made for your backyard! Let them soak in the sun while building sandcastles! Sandboxes are the perfect way to keep your kids entertained for hours while you enjoy some time outside.
Supplies needed: 8 pieces of 2” x 10” pressure-treated boards, 3” decking screws, 2 pieces of 4’ x 8’ plywood, power drill
- First, determine how big you want your sandbox to be. Then get a few 2” x 10” pressure-treated boards and cut to that size. To hold the boards together, use 3” decking screws.
- You will be using plywood as the bottom piece for your sandbox. Cut the plywood to the size of your sandbox and secure it with three 2” x 2” boards. Two on the ends and one in the middle.
- For extra durability, flip over the sandbox and use the leftover 2” x 10” wood to make 90-degree triangles to place on the corners of the frame.
- If you want to add handles on either side of the sandbox, you can do so by drilling holes and looping some rope through the holes.
These are just a few ways you can expect to see your kids run outside with a smile on their faces during the summer. We enjoy these projects because they are fairly simple to set up, and you can do it with your kids as long as you supervise them. Now, if you’re looking for some new pool games to try this summer we have you covered here!
Get updates on the latest sales and featured items by subscribing to our newsletter below. New subscribers receive 10% off their first order!
Need help with decorating tips? Choosing the right tree?
Christmas Central Resources