Artificial trees need some shaping to get the most realistic look. Below are a few easy steps to follow to have your tree looking like the real thing.
Before shaping your tree, place your tree stand in its desired location. Your tree will be more difficult to move once it's set up. Trees vary, but if your tree comes in different sections, place the bottom section in first and follow the steps below. Once you finish shaping those branches, move on to the next section until you've reached the top.
If you ordered a pre-lit tree, plug it in to make sure all the lights are working and fix any unlit bulbs with the replacement bulbs included.
Step 1

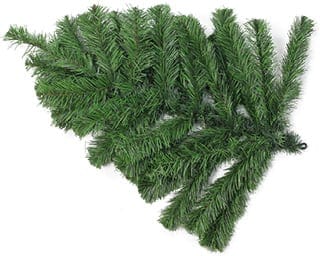
Fan the branches out and away from the center of the branch, parallel to the floor.
Step 2

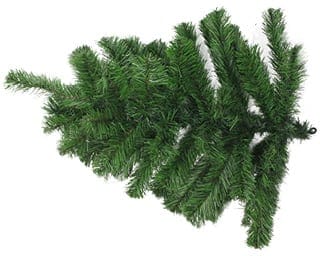
Start lifting the branches at different angles.
Step 3

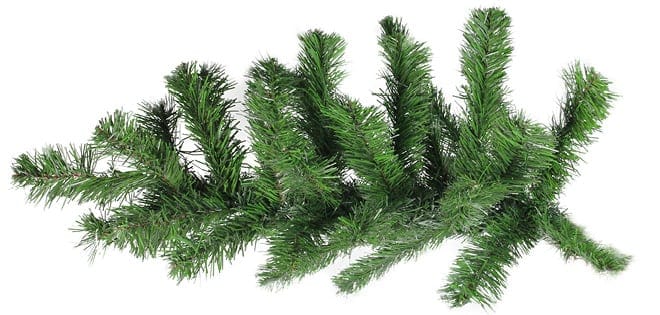
Begin arranging the individual branches up and outward in different directions. For most artificial trees, the majority of the branches will tilt upward. Make sure each branch is at a slightly different angle that the branches around it for the fullest look possible.
The branches at the top of the tree should be evenly spaced and pointing almost straight up to the ceiling.
If you're decorating a tall tree, you can shape the top section before you put in on the base so you don’t have to work on a ladder. See our safety tips for other ways to stay safe while decorating for the holiday season.
Step back and look at your tree throughout the shaping process to make sure it's shaped uniformly and appears natural. Adjust branches to fill in any gaps you see.
It's a good idea to take a photo of your tree for reference. Tuck it in with the tree when you store it away. You probably won't have to do as much "fluffing" in the future, but a photo will provide a visual reference of your fully shaped tree next year.