
How to Set Up Your Outdoor Christmas Lights in 3 Easy Steps
If all you know about decorating your house for Christmas is what you’ve seen in movies, you may have a grisly view of the process. The good news is that decking your house with Christmas lights doesn’t have to end in disaster.
Setting up your outdoor Christmas lights can be divided into three simple steps:
Step 1: Develop a Lighting Plan
Don’t underestimate the value of planning ahead. You can avoid a lot of frustration by thinking out – and even drawing – your lighting plan.
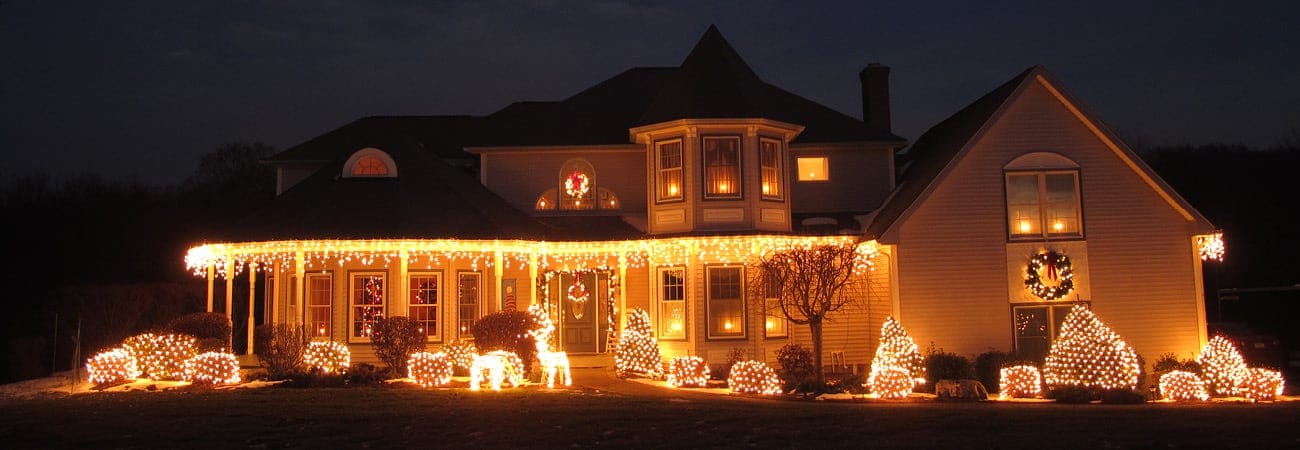
First, decide where you want to put your lights. You can light just about any outside structure: eaves, windows, door frames, awnings, porch, patio, trees, bushes etc. Consider the location of your outlets and availability of extension cords and power strips and adjust your plan accordingly.
Next, measure all of these surfaces and calculate the minimum length of string lights needed to cover that area. If you need extension cords, calculate the length of the cord, too. Add a few extra feet to allow some slack.
Finally, test your lights. It will be easier to address any problems with your Christmas lights before they’re hung.
It’s very important to calculate the electrical needs of your lights. Overloading lines and sockets is a safety hazard that can trigger an electrical fire.
Most Christmas lights have end-to-end connectors that enable you to string together multiple light strands. However, there are limits to how many lights you can safely plug into a single circuit.
Be aware that voltage and amperage requirements vary based on whether your lights are incandescent or LED. As a general rule, LED Christmas lights have lower electrical needs. This means you can usually connect more LED string lights to a single outlet than you can with incandescent Christmas lights.
Check online product specifications or the box your lights came in to determine wattage and voltage requirements.
Step 2: Assemble Your Lights and Accessories
In addition to gathering all the Christmas lights you want to use, consider any additional supplies you’ll need.
For instance, will you need a ladder to reach higher areas? If so, consider adding a bucket to your supply list to hold lights and clips so you can work with both hands. Speaking of light clips, make sure you have plenty to spare so you don’t run out in the middle of the job. You may also want to have nails, a hammer and zip ties on hand, just in case.
Many people who use outdoor Christmas lights find an automatic timer an indispensable accessory. No need to worry about remembering to switch on the Christmas lights every night!
Step 3: Hang the Lights
If you’re adding lights to features like eaves and fence rails, you may want to loosely drape your Christmas light strings along the area before securing them in place. You’ll be able to make adjustments more easily this way. No one wants to get to the end of a 300-bulb light strand and realize the plug won’t reach the nearest outlet. In fact, you may want to work from your power source outward to avoid this particular annoyance.
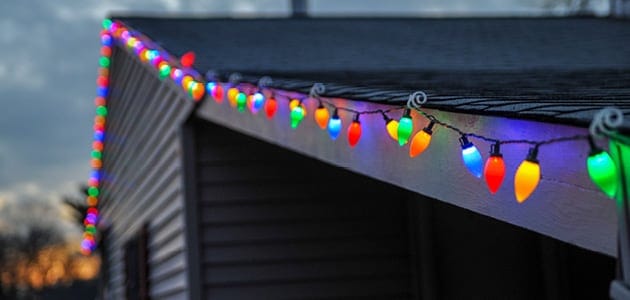
Christmas light clips not only hold Christmas lights in place, they help keep light strands in a nice, straight line. If you prefer to scallop your lights, count off a specific number of bulbs for each swag, securing the light string at each interval.
As an alternative to clips, you can drape lights over nails, but do not insert nails or staples through the electrical cord! Not only will you damage the cord, you could be creating a serious electrical hazard.
How to Hang Christmas Lights on a Christmas Tree
How Many Lights Should You Put on Your Tree?
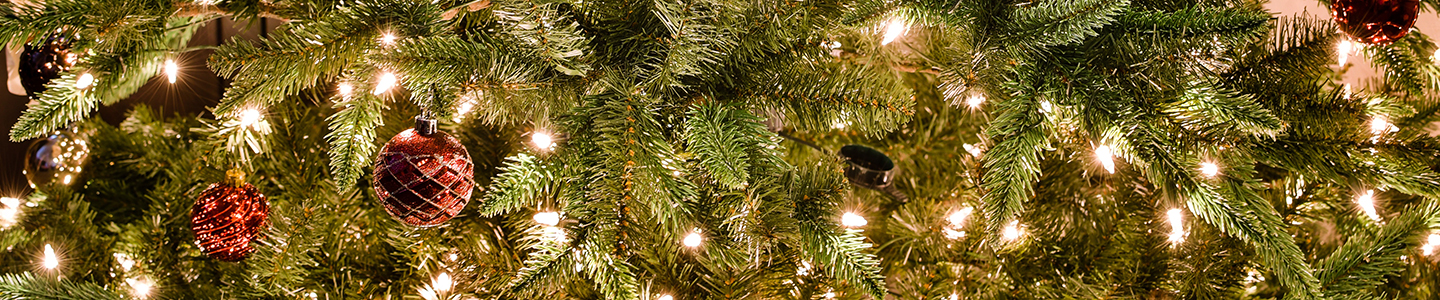
The most important Christmas tree decoration comes even before you add the ornaments – it’s the Christmas tree lights! Lights add that certain sparkle, the special glow that truly makes your Christmas tree shine. But how many lights do you need and when is enough enough?
For a well-lit Christmas tree, most Christmas decorators recommend using 100 lights for every foot of tree height. That’s 700 lights for a 7-foot tree, or seven 100-light strings. Depending on what kind of Christmas lights you use, you may need more than one outlet or a power strip to prevent a potential electrical overload.
Some people consider the 100 bulb per foot height formula arbitrary and optional. Let your personal style and the kind of lights you use guide the optimal number of lights for your tree. Since LED Christmas lights are brighter than incandescent Christmas lights, you may prefer fewer lights on your Christmas tree. For a really bright and sparkly tree, feel free to add more lights!
Also, consider retro options like C9 Christmas lights and bubble lights, as well as quirky novelty lights for a personalized look.

What's the Best Way to Hang Lights on a Christmas Tree?
The lights are the first decorations you hang on your Christmas tree and they can often be the most difficult and time consuming part of the process. Save yourself some trouble in advance: Inspect and test your lights before hanging them on your tree. Replace any burned out bulbs.
Now you’re ready to hang your Christmas lights. There are several methods for hanging lights on a Christmas tree.
Spiral method: Begin at the top of the tree. If you use a lighted tree topper, make sure you start with the right plug end. Work around the tree, laying some lights on the outer branches and tucking some lights deeper toward the trunk for visual depth.
Zigzag method: If you use a lighted tree topper, begin at the top of the tree, making sure you start with the proper end of the light string. String lights loosely from top to bottom and back up again in a vertical zigzag pattern while you move around the tree, tucking some lights in a little deeper as you go.
Quadrant method: This lighting method works well for larger trees that require multiple strings of lights. Visually divide the tree into quarters. Work your lights in a horizontal zigzag pattern from top to bottom over the first quarter of the tree. Hang lights the same way for the other three quadrants of your Christmas tree. Thread the final few feet of light cord through the lowest branches toward one side of the tree so all cords can be plugged into the same power strip or extension cord.
Before adding decorations, plug in the lights. Are your Christmas lights evenly distributed throughout the tree? Are there enough lights for your taste? Separate areas where lights are bunched up and fill in any sparsely lit spots.
If you want to avoid the task of putting lights on your tree altogether, consider the simple aesthetic of an unlit Christmas tree. Or take a closer look at our extensive line of pre-lit artificial Christmas trees and set up your tree worry-free year after year!
You may also like: